Finally got around to converting the old freezer into a Keezer.
Then it got an upgrade.


The best piece of advice was to check for the cooling pipes. Approximate locations identified by switching on the freezer and locating cold spots. First holes drilled after exploring for cooling pipes with a pilot hole, then digging around with a skewer. Just as well, there were pipes to be avoided.
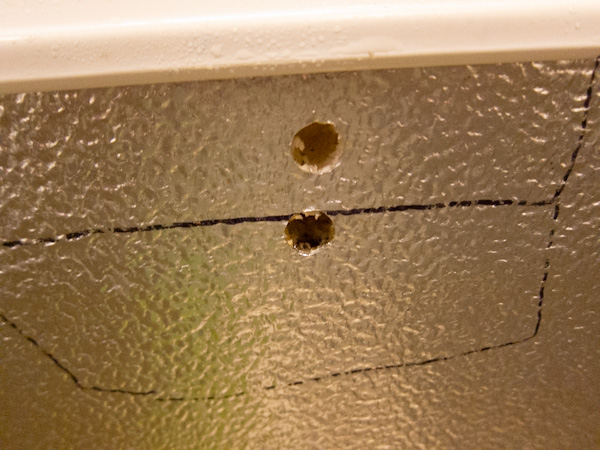
Two holes needed, one for the heater power and temperature probe cable, and one for the gas pipe.


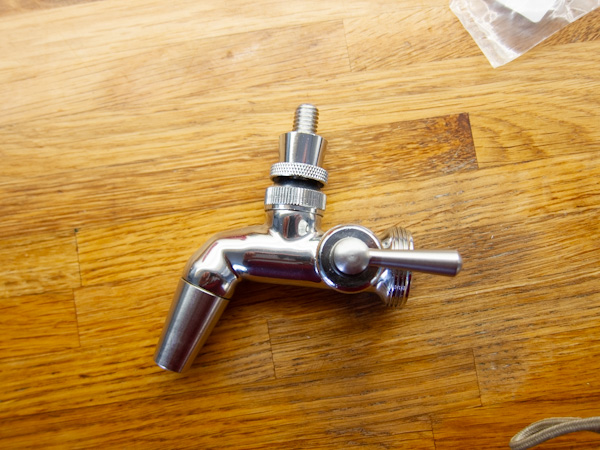
Then move onto the hardware.
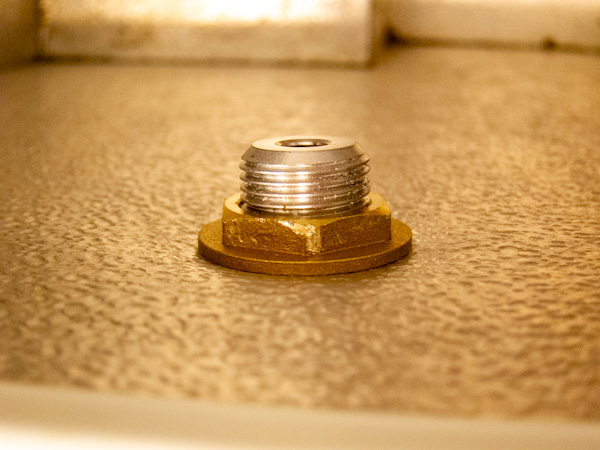
The Panic!
The shank for the tap appeared to be too short, only just reaching through the insulation with no useable thread exposed for connecting the beer line.

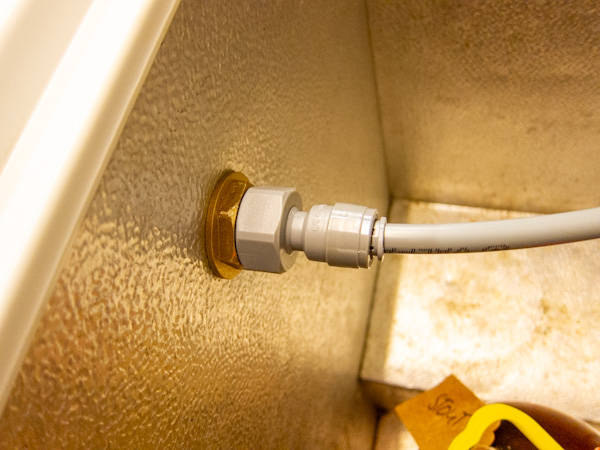
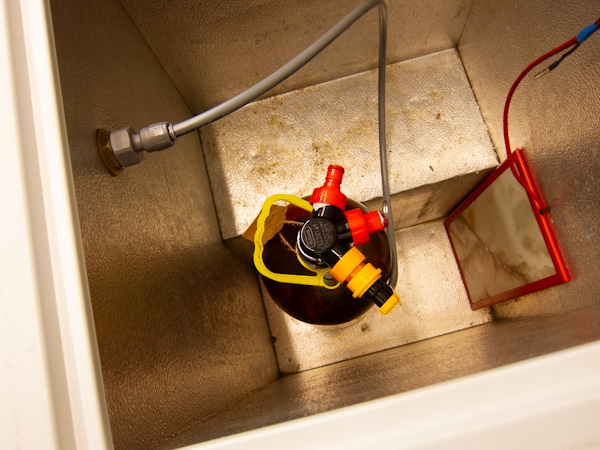
On to the main gas board.


Issues
The gas and beer flow appeared a little slow.
Gas Unbeknown to me, the gas manifold has its own one way checker so there was no need for the one I'd fitted, it was only adding to gas flow resistance.
Beer I hadn't factored in the length of the beer line, not grasping the effect it would have on the flow rate of the beer; shortening it improved flow rate dramatically.